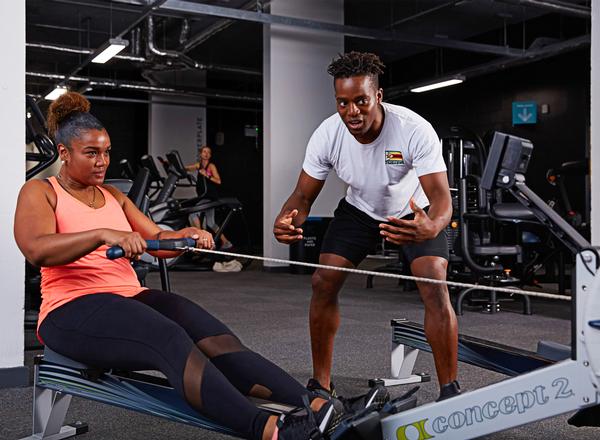
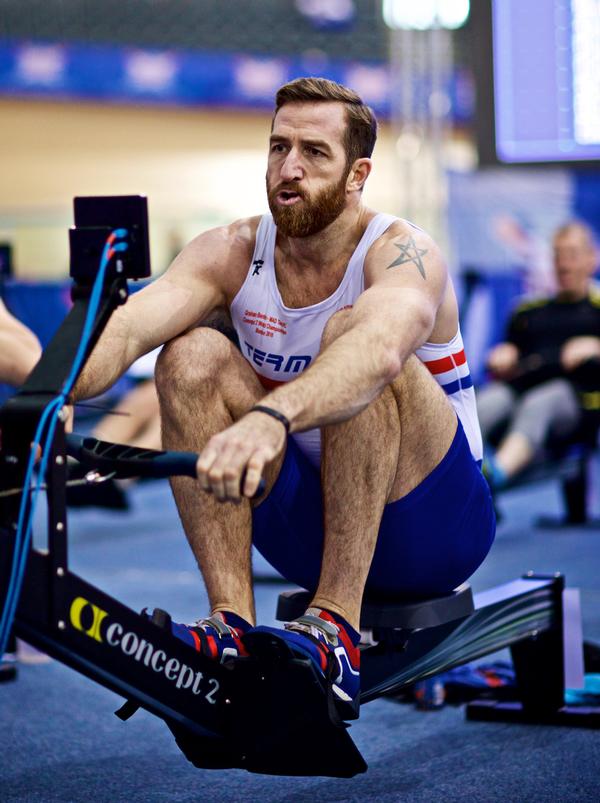
Walk into a gym anywhere in the world, and a variety of weird and wonderful indoor rowing techniques are likely to be seen. From those who throw their hands up into a high arc over the knees, to others who jerk their arms and body back and forth, barely moving their legs.
This poor understanding of rowing machine technique is nobody’s fault. Rowing is not a popular spectator sport or one that everyone tries when they’re at school. It’s also not a particularly intuitive movement and can feel unnatural at first. But as an activity that uses all the joints of the body, correct technique must be mastered early on if exercisers are to avoid sustaining injures, especially to the upper back, neck and shoulder.
For gym goers to master the technique, however, instructors themselves must first be taught how to row safely and effectively, so they can pass on this knowledge.
For this reason, British Rowing is sending master trainers into gyms around the UK to train and educate gym instructors on how to help members get the most out of the indoor rowing machine.
“A large proportion of trainers, including me, believe that the rowing machine is the single most effective piece of kit in the gym, for those looking for a complete body workout,” says Eric Kent, one of British Rowing’s master trainers.
“However, we know that indoor rowing has long suffered from a lack of education. For gyms to fully utilise their indoor rowing machines, it’s vital to provide staff with professional training. This ensures that members are taught correct technique and given useful exercise programmes. Ultimately, this results in happier members who see better results.”
Getting technical
Kent explains that learning the basics of good rowing technique is quite easy, and that even a simple 10-minute introduction can significantly reduce the risk of injury, while making a huge difference to the quality and enjoyment of a rowing workout.
Mark Edgar, head of sport medicine for the British rowing team, agrees: “There are excellent physiological advantages of indoor rowing training. However, anyone who uses a rowing machine – whether they are a rower or a gym user – needs to be aware of good rowing technique in order to minimise the risk of injuries.”
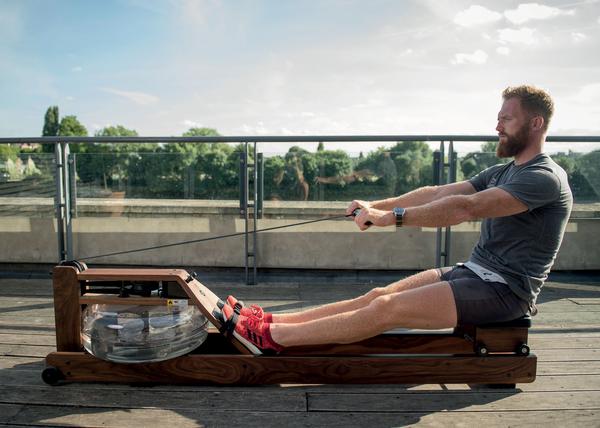
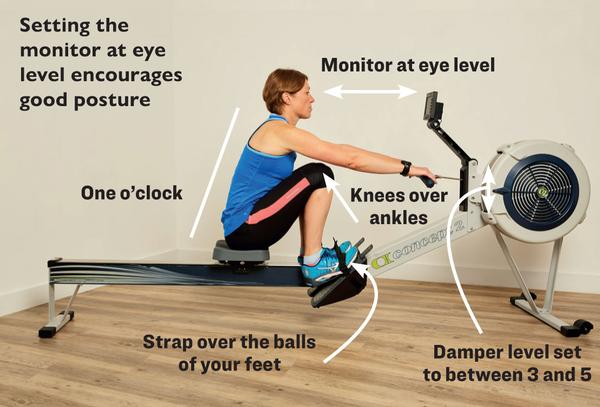
So what does good technique consist of? The experts agree that one of the most important things to understand is that rowing is not primarily an upper-body sport.
“It’s more about driving with your legs than it is pulling with your arms,” says Concept2’s marketing manager David Hart. “Just like with deadlifts, you want to make sure you get the most out of the big muscles in your legs before you start using your arms.”
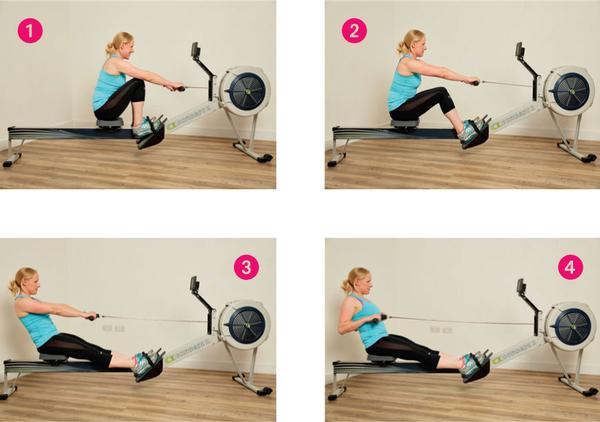
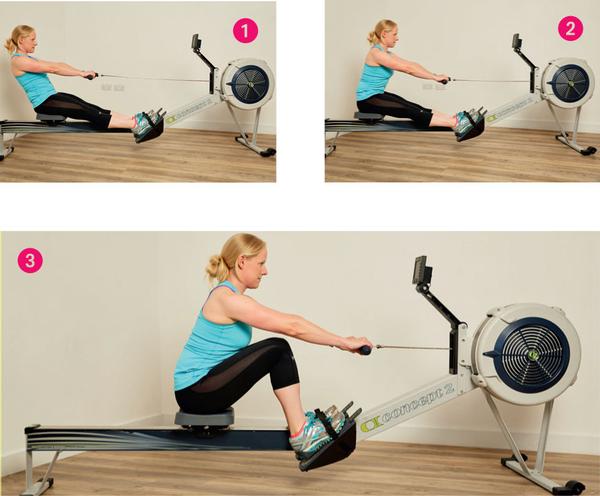
This is why the rowing machine has a sliding seat. It allows users to utilise the explosive power in their legs before finishing off the stroke by pulling with the body and then the arms. By employing these muscle groups in a sequence of most to least powerful, each can be used to its full potential.
Ben Duggan, UK & Ireland sales manager for WaterRower, suggests breaking the stroke into smaller segments to get each part right before putting them all together. “Try rowing with only the arms, then only the body and, finally, only the legs,” he says.
Train like an Olympian
Once members have mastered the basics of indoor rowing technique, it’s important to help them understand how the rowing machine can be incorporated into their training.
“Misconceptions remain around how to effectively integrate the rower into your workout routine,” says Duggan. “Hands up all those who only use the rowing machine to warm up!”
“One of the most common errors people make,” says Helen Rowbotham, director of innovation at British Rowing, “is that they just jump on the machine and go hell for leather for a short period of time. But this is not the best way to improve. It’s the same as when you start running – you want to start slowly, focus on technique and gradually build your pace and distance. Beginners wouldn’t sprint straight away or run a half marathon, and it’s no different with rowing.”
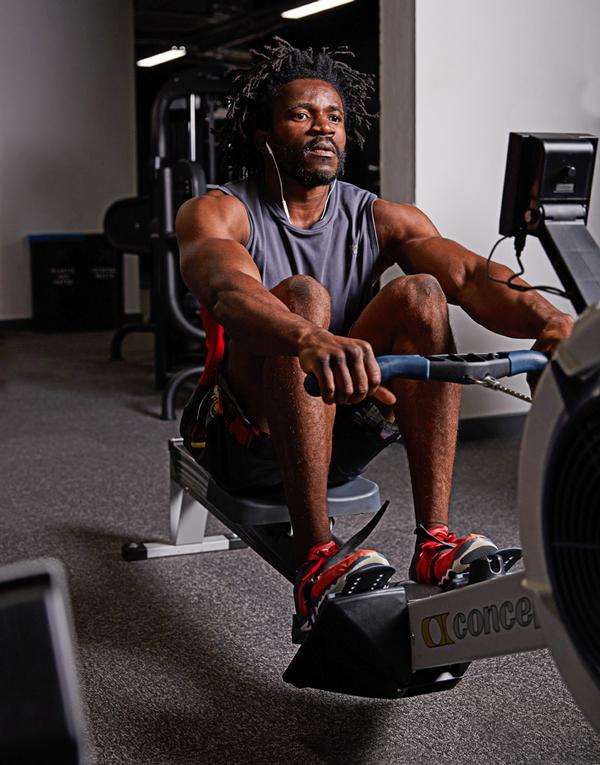
Even experienced indoor rowers don’t row fast all the time. Will Satch, GB rower and Olympic Gold Medallist, says: “The rowing machine is the cornerstone for fitness conditioning in the British Rowing team. Whether it’s a long, steady row for 90 minutes plus, or a short higher-intensity piece, the rowing machine can’t be beaten.”
Matt Gleed, master trainer for Matrix Fitness, agrees that speed isn’t necessarily the key to an effective rowing workout. “I always encourage an increase in power rather than speed,” he says. “Your technique will be better and you actually maximise resistance from the force you produce.”
This is an important point to realise: the intensity of a workout is controlled by how hard the user pushes with their legs and pulls with their body and arms. Even with the damper set at 10, if no force is put into the stroke, the user can slide up and down quite easily. It’s up to the individual to put the pressure on.
Educating members
Most gym members are willing to train hard, but they need to be given the correct information to do so – and to do so both safely and effectively. Delivering rowing education via well-trained gym instructors is key to achieving this goal, and this, in turn, will ensure that operators can keep their members safe, while adding serious value to their offering.